For Version 1 Test tube setups.
Step-by-Step Instructions for Setting Up a Test Tube Chamber for Ants
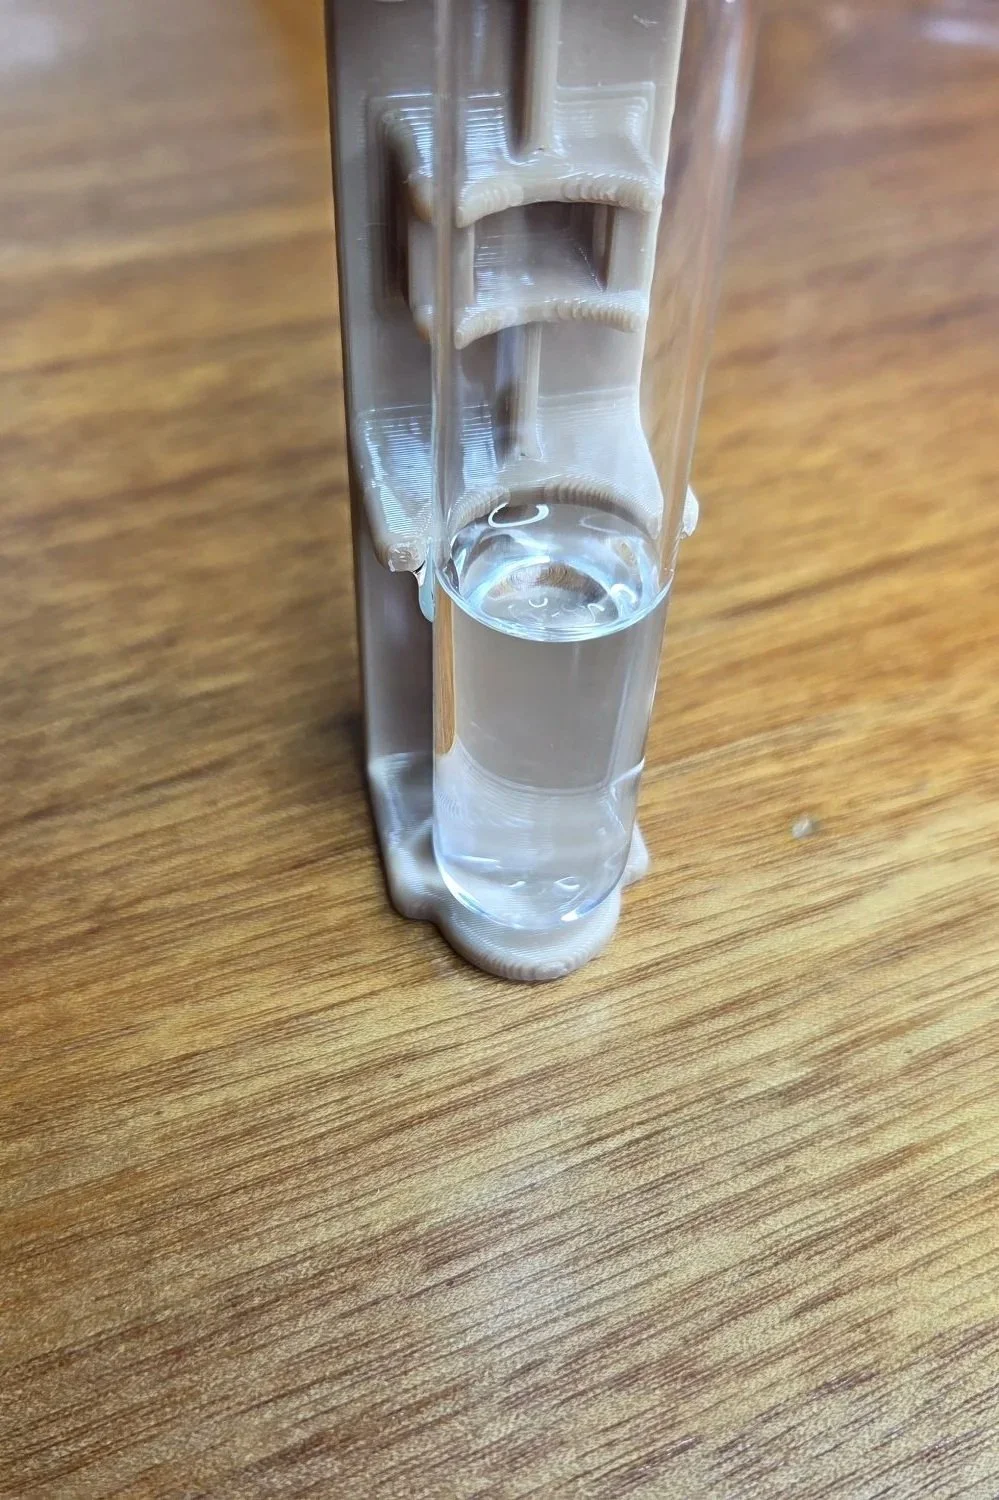
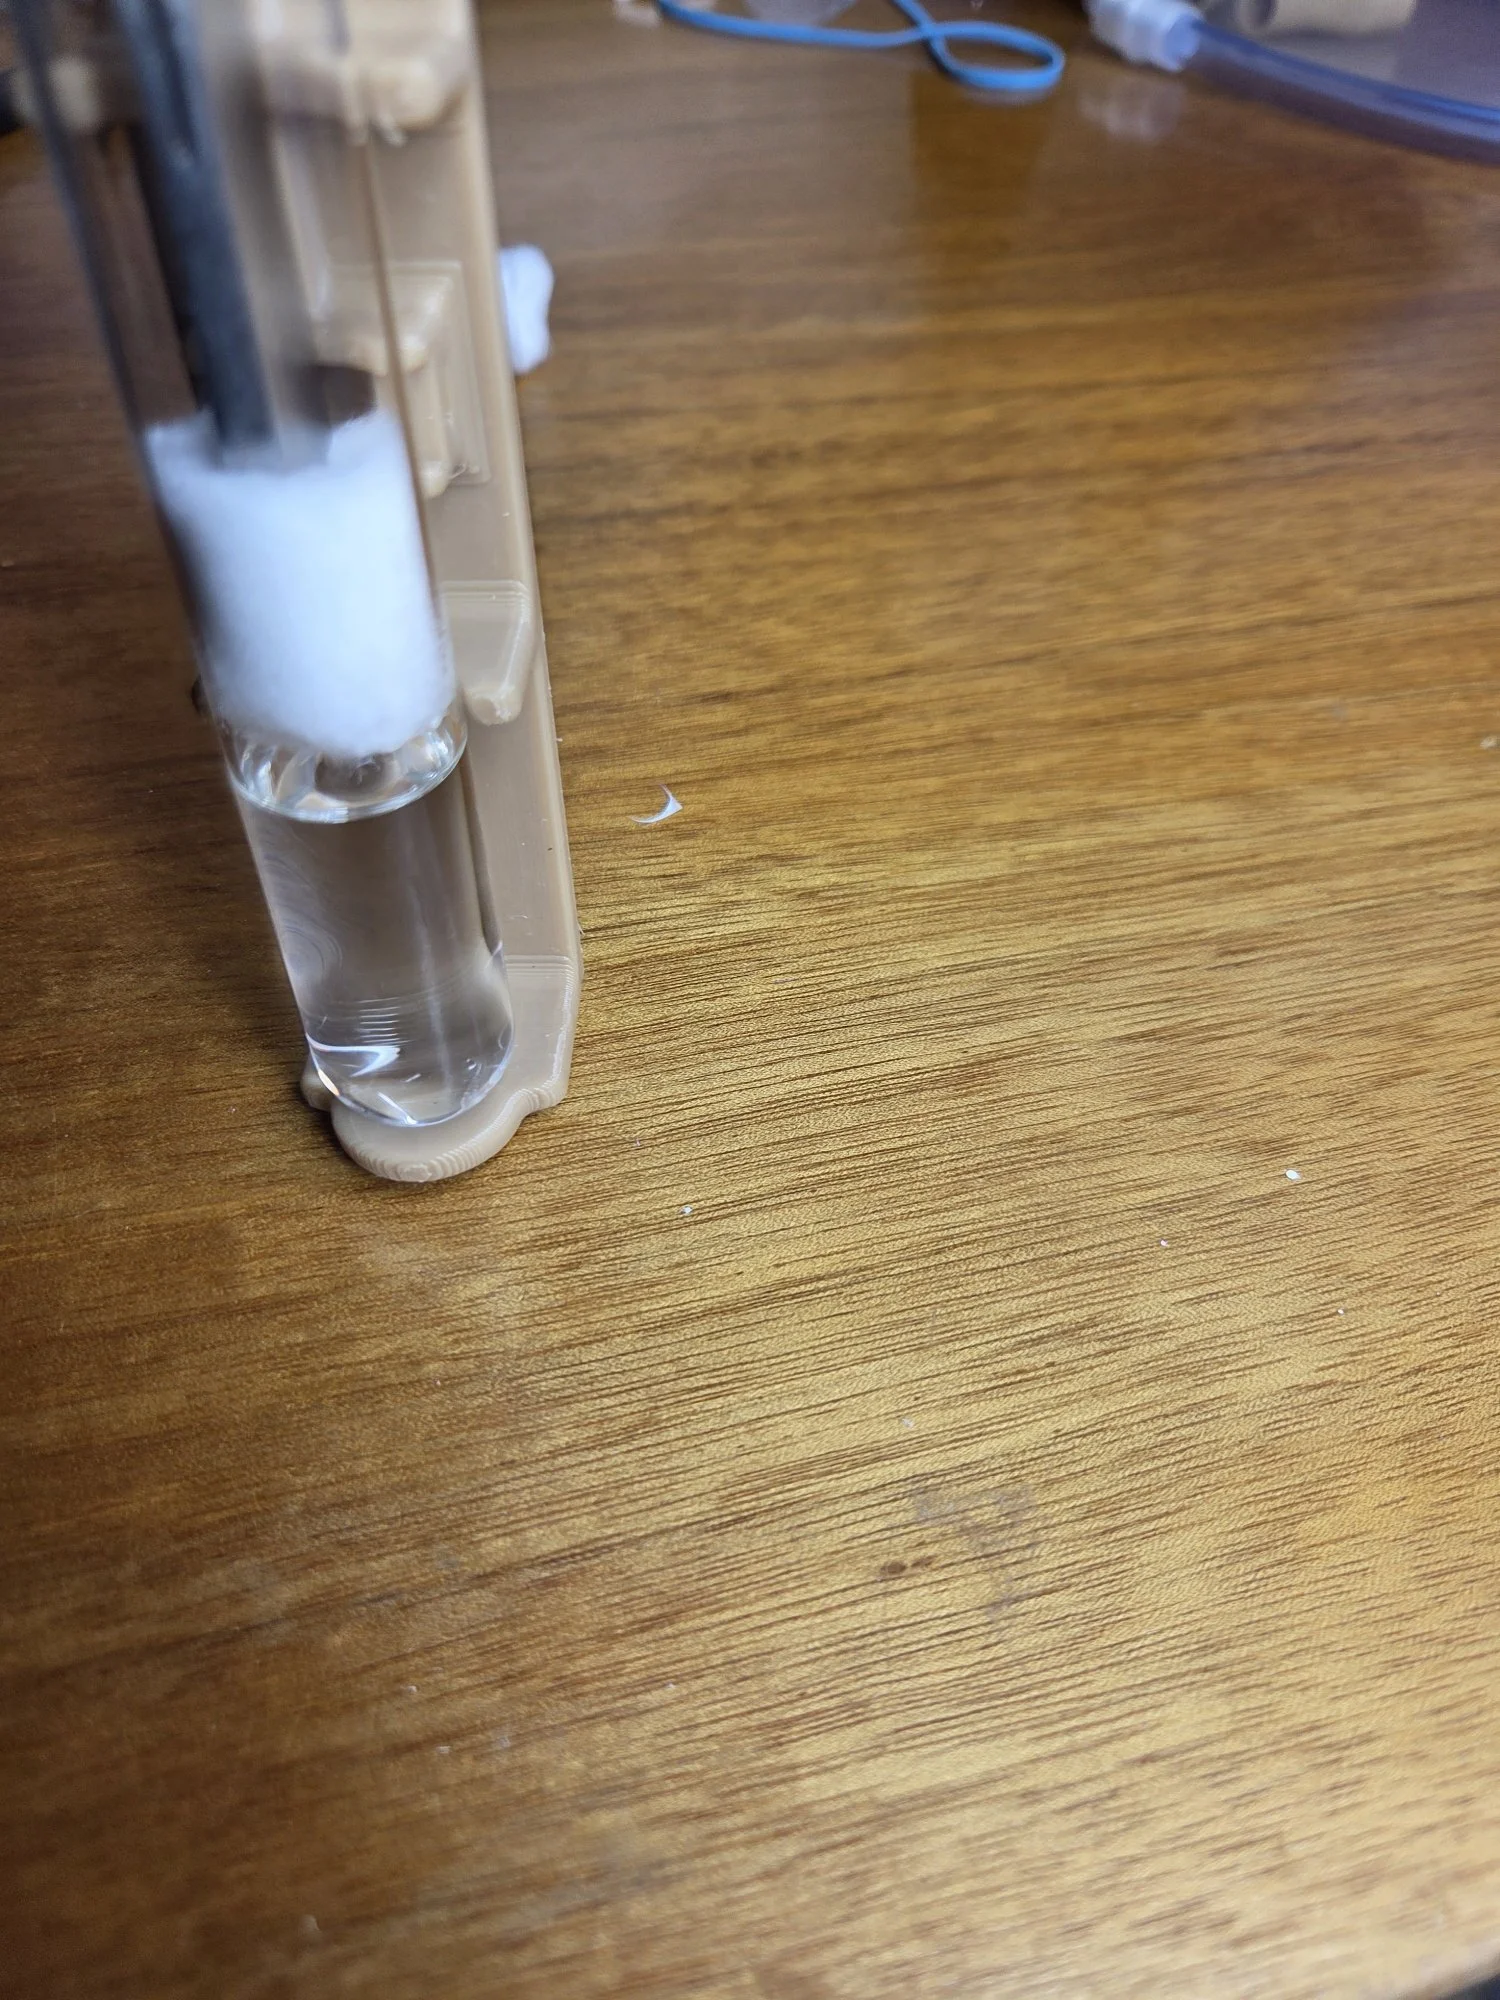
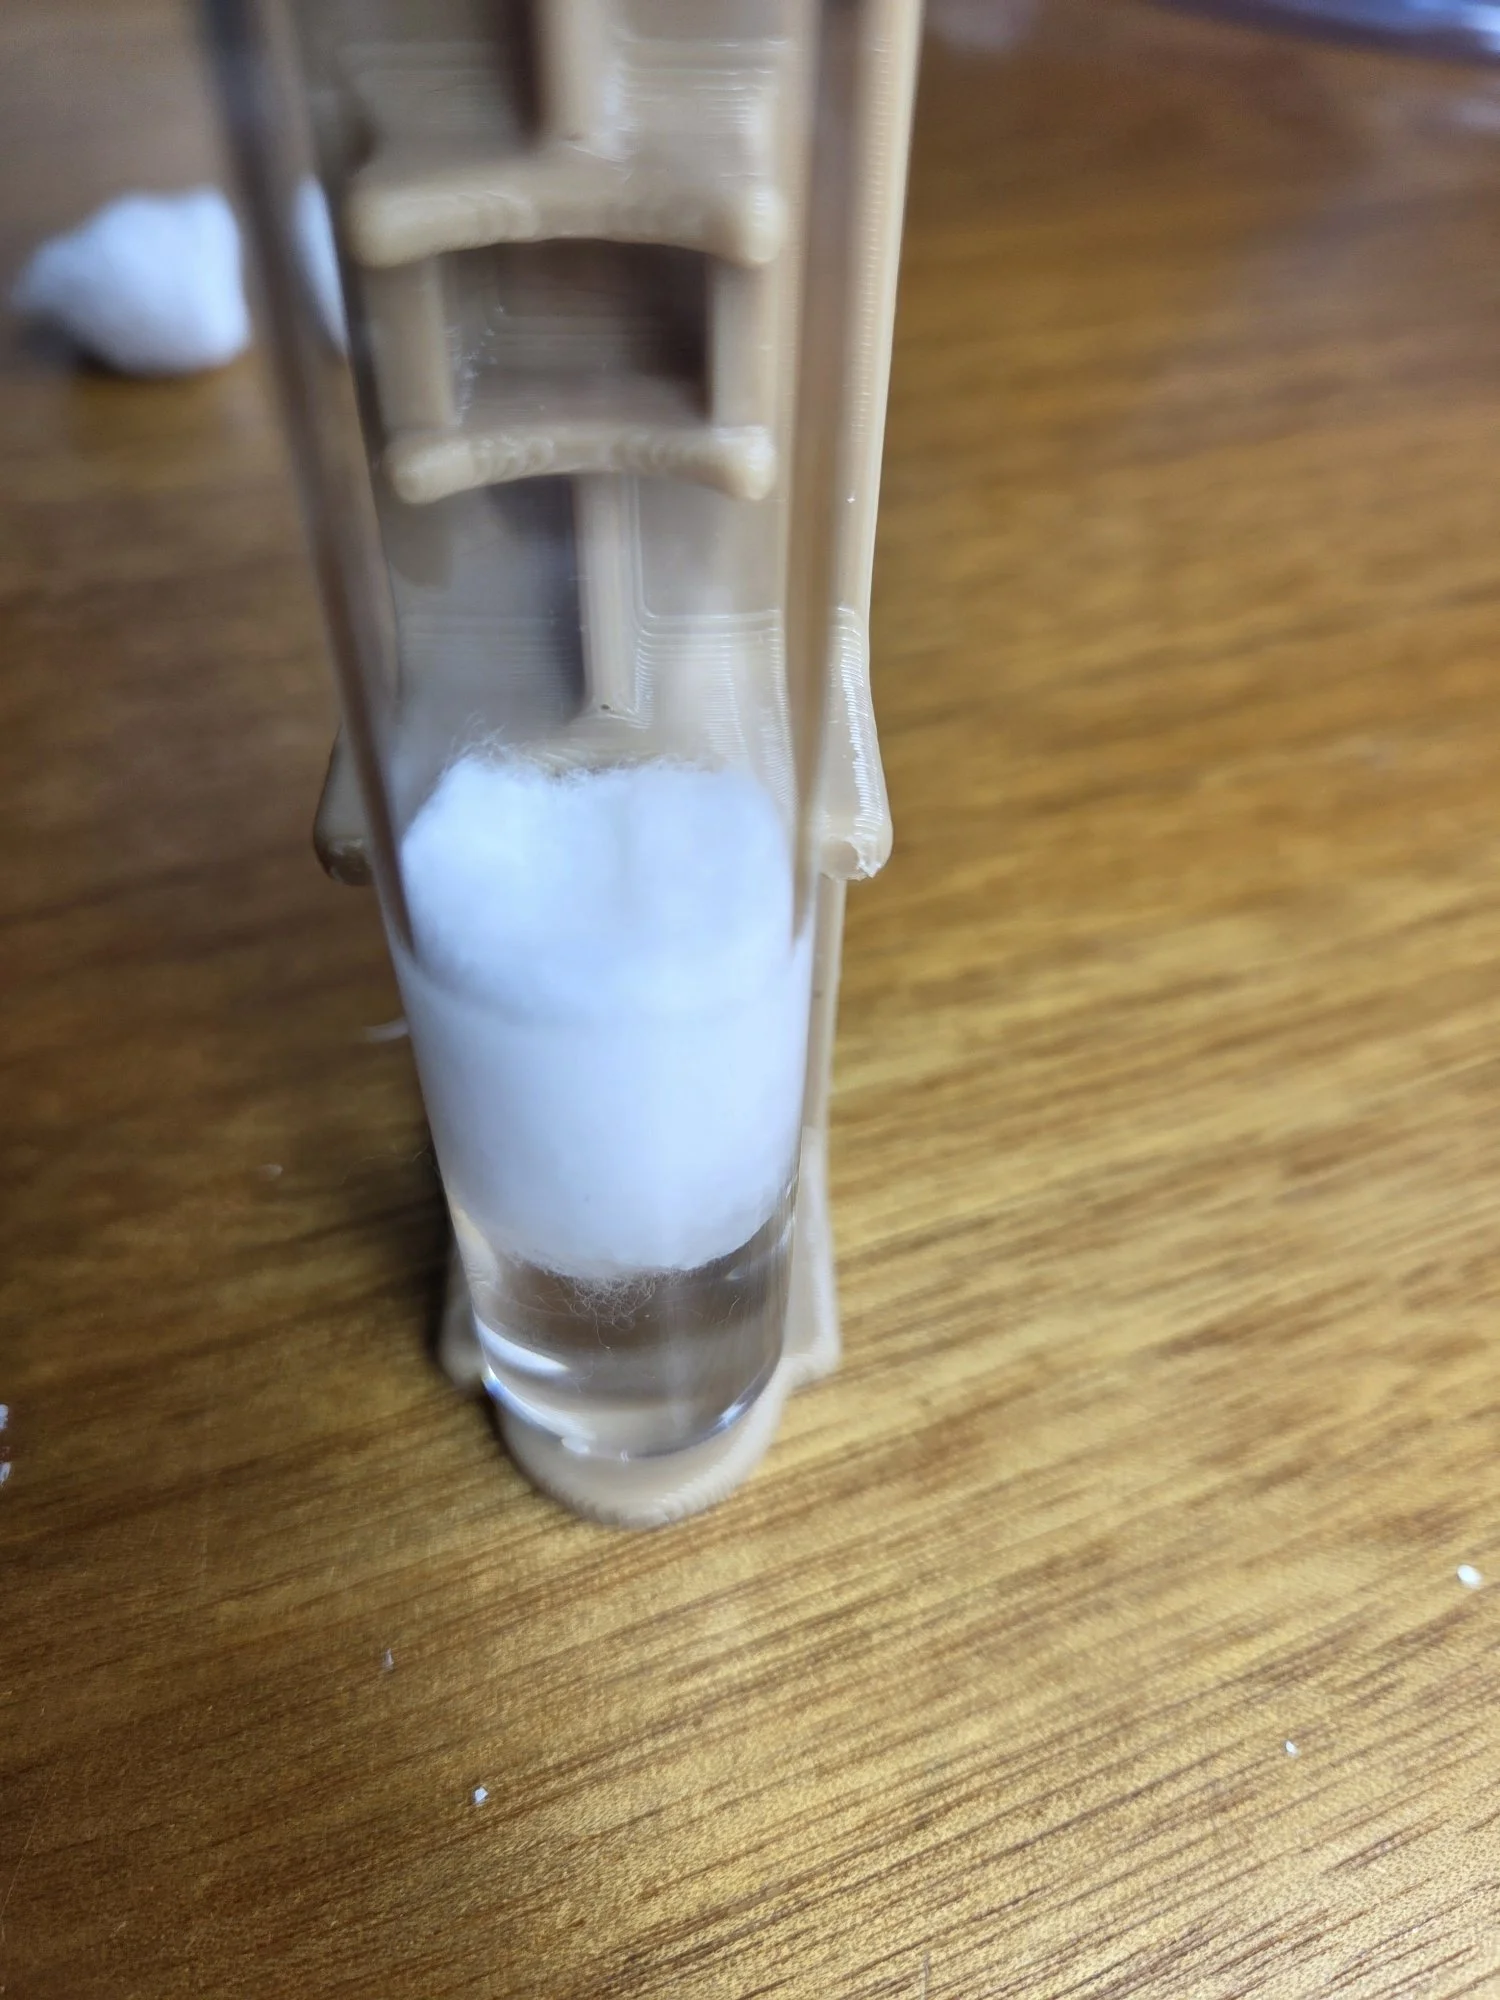
Fill the Test Tube with Water:
Fill the test tube to the lower support with water to create a suitable environment for the ants
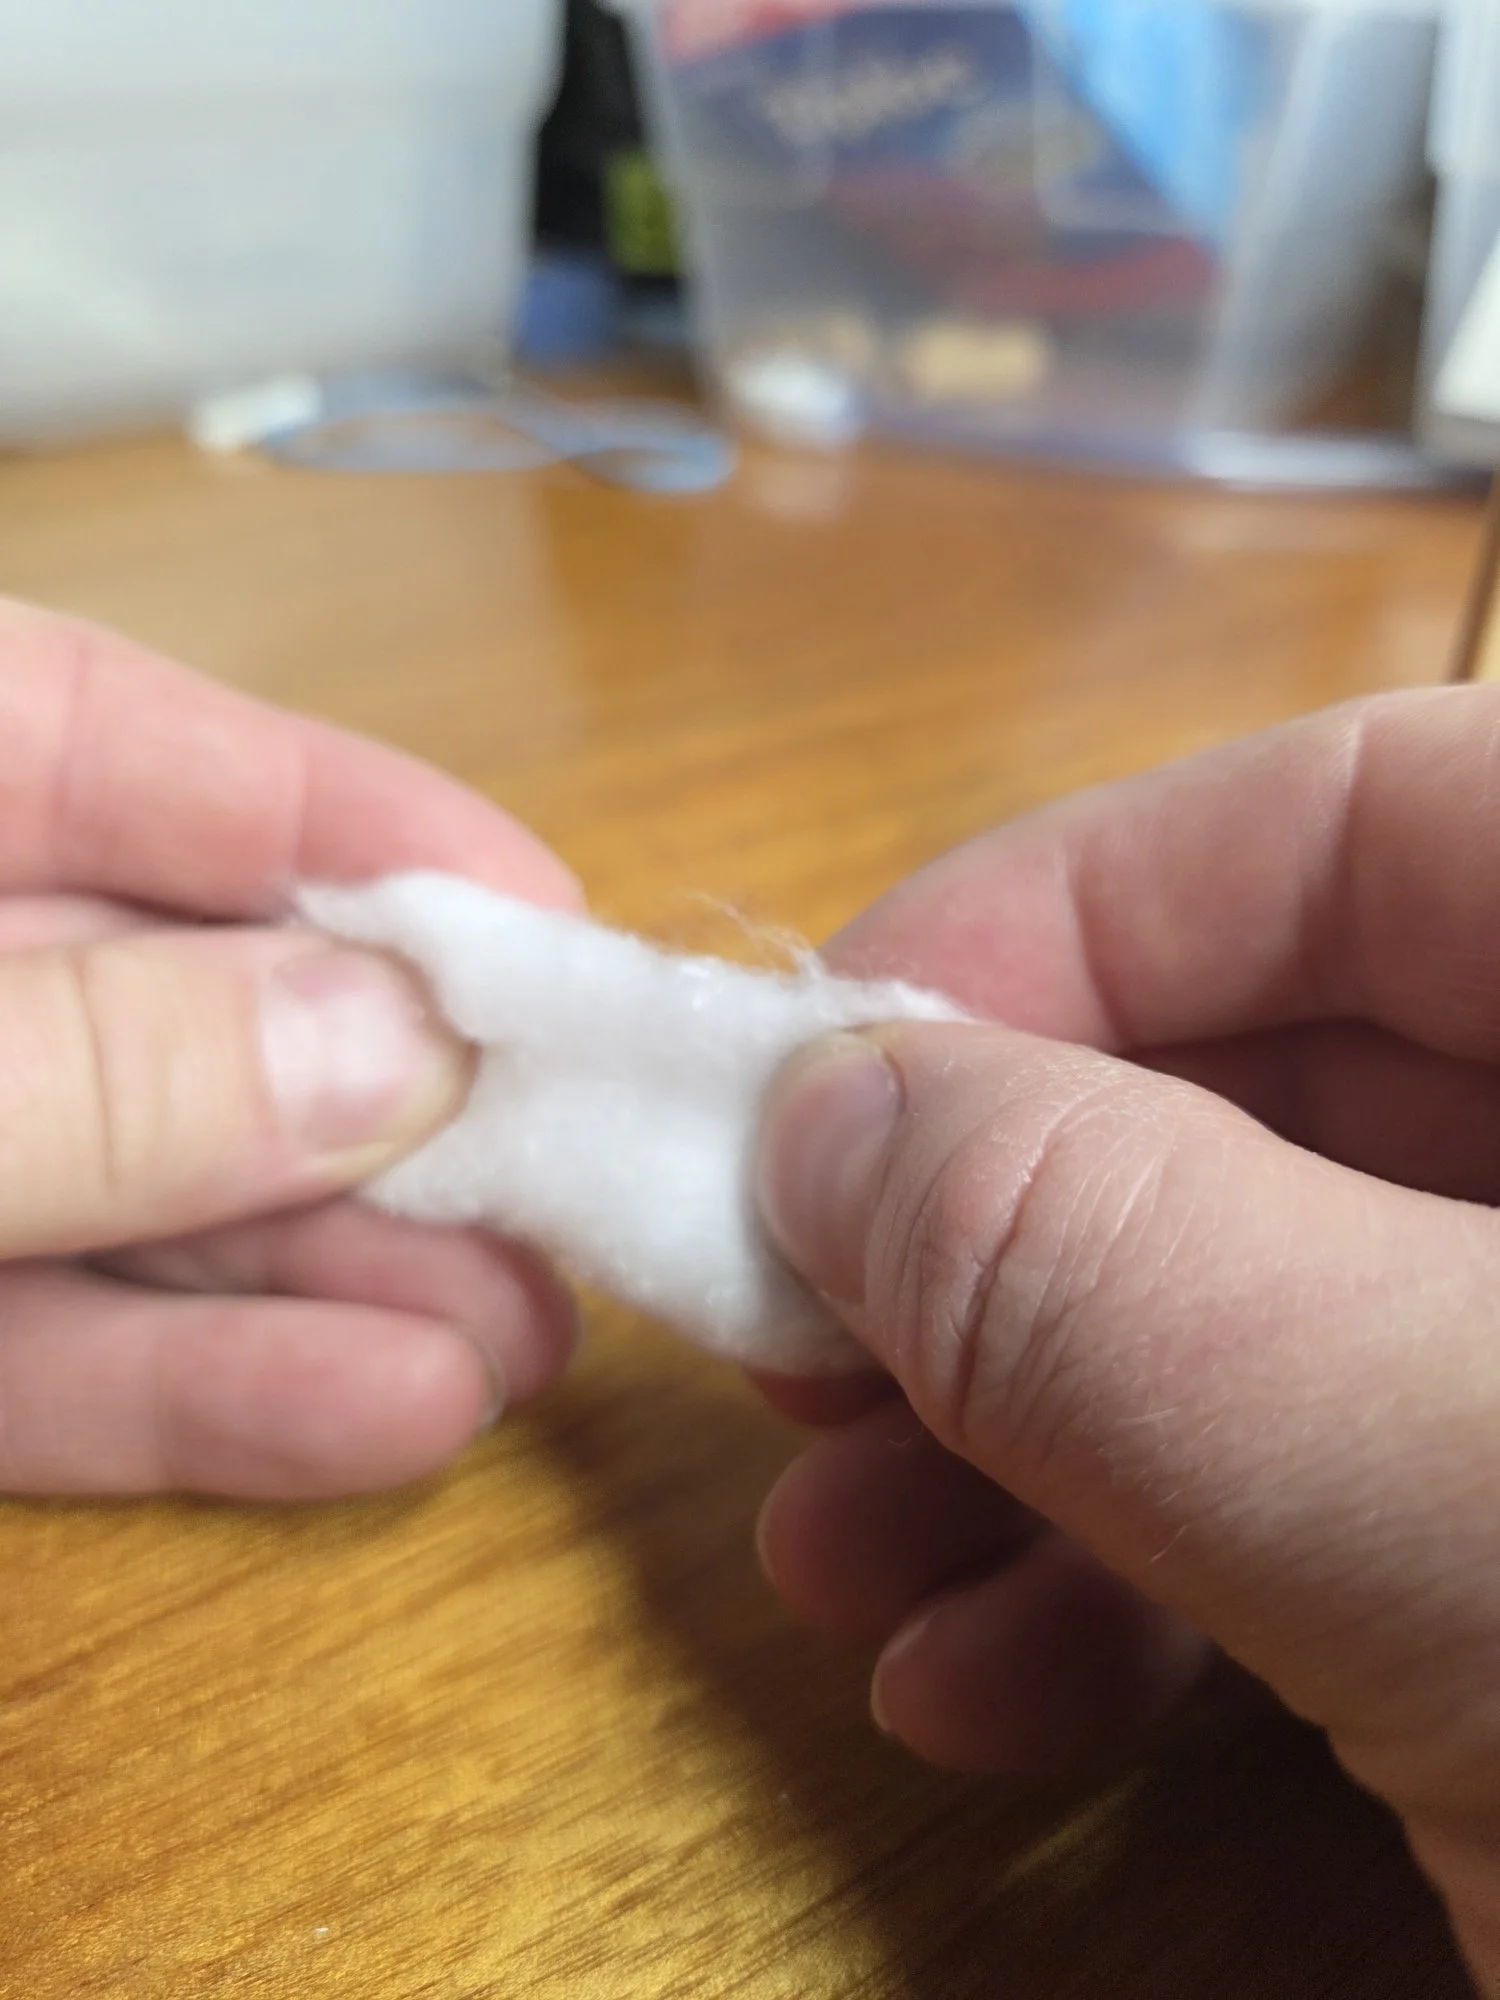
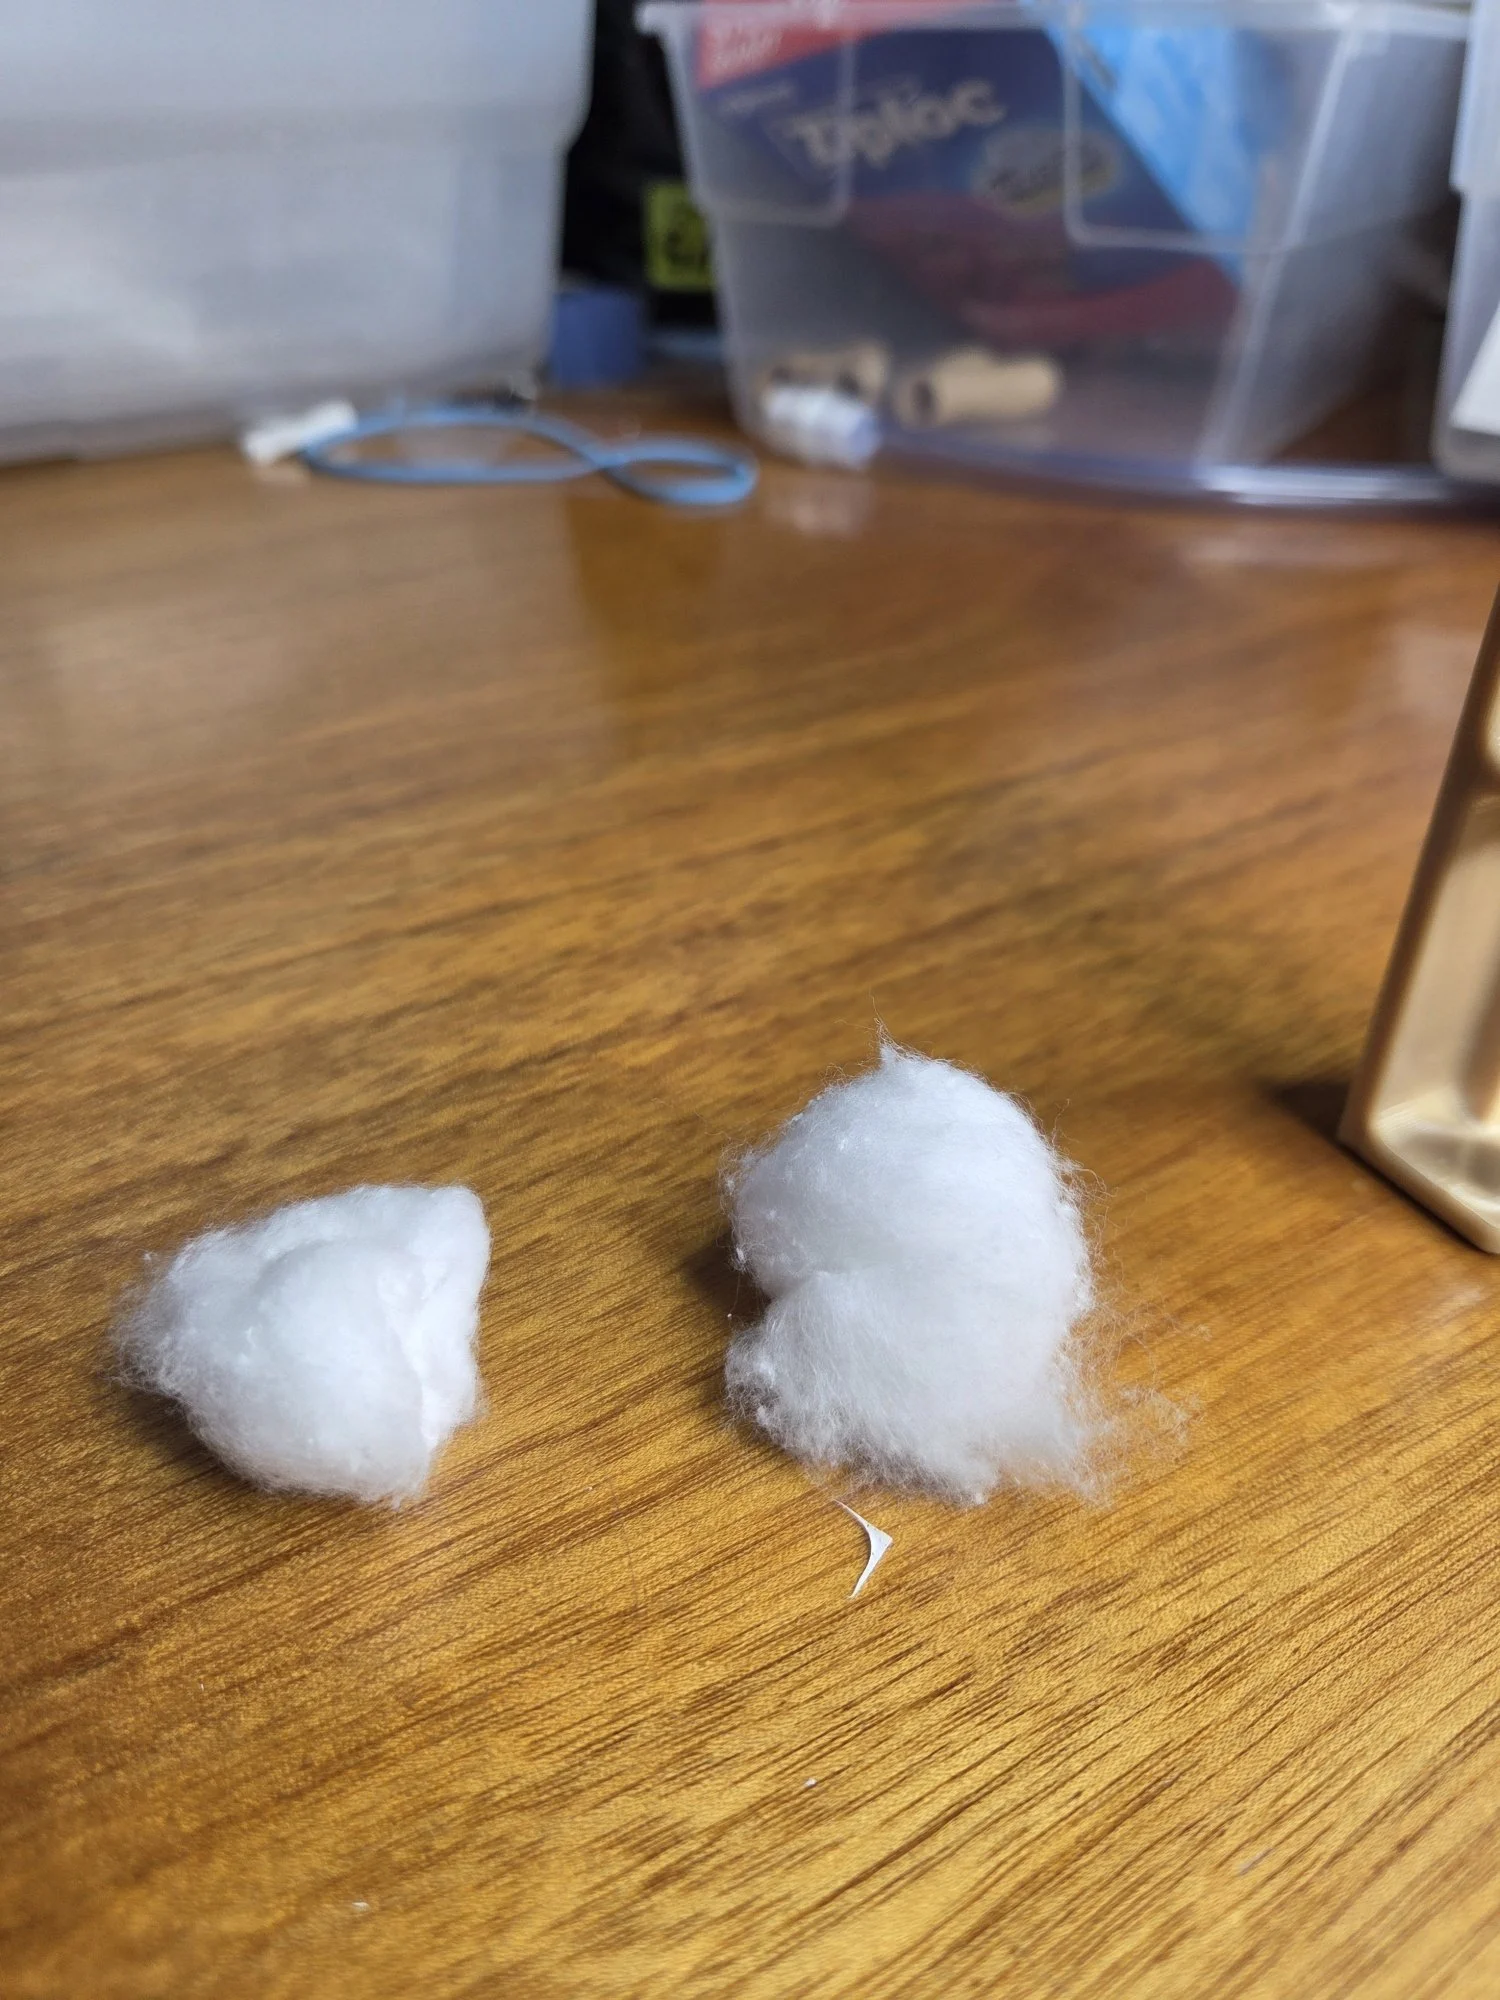
Prepare the Cotton Ball:
Adjust the size of the cotton ball as needed. 1/3 (16mm), ½ (18mm) 2/3 (20mm), Full (24mm)
Split along the fibers.
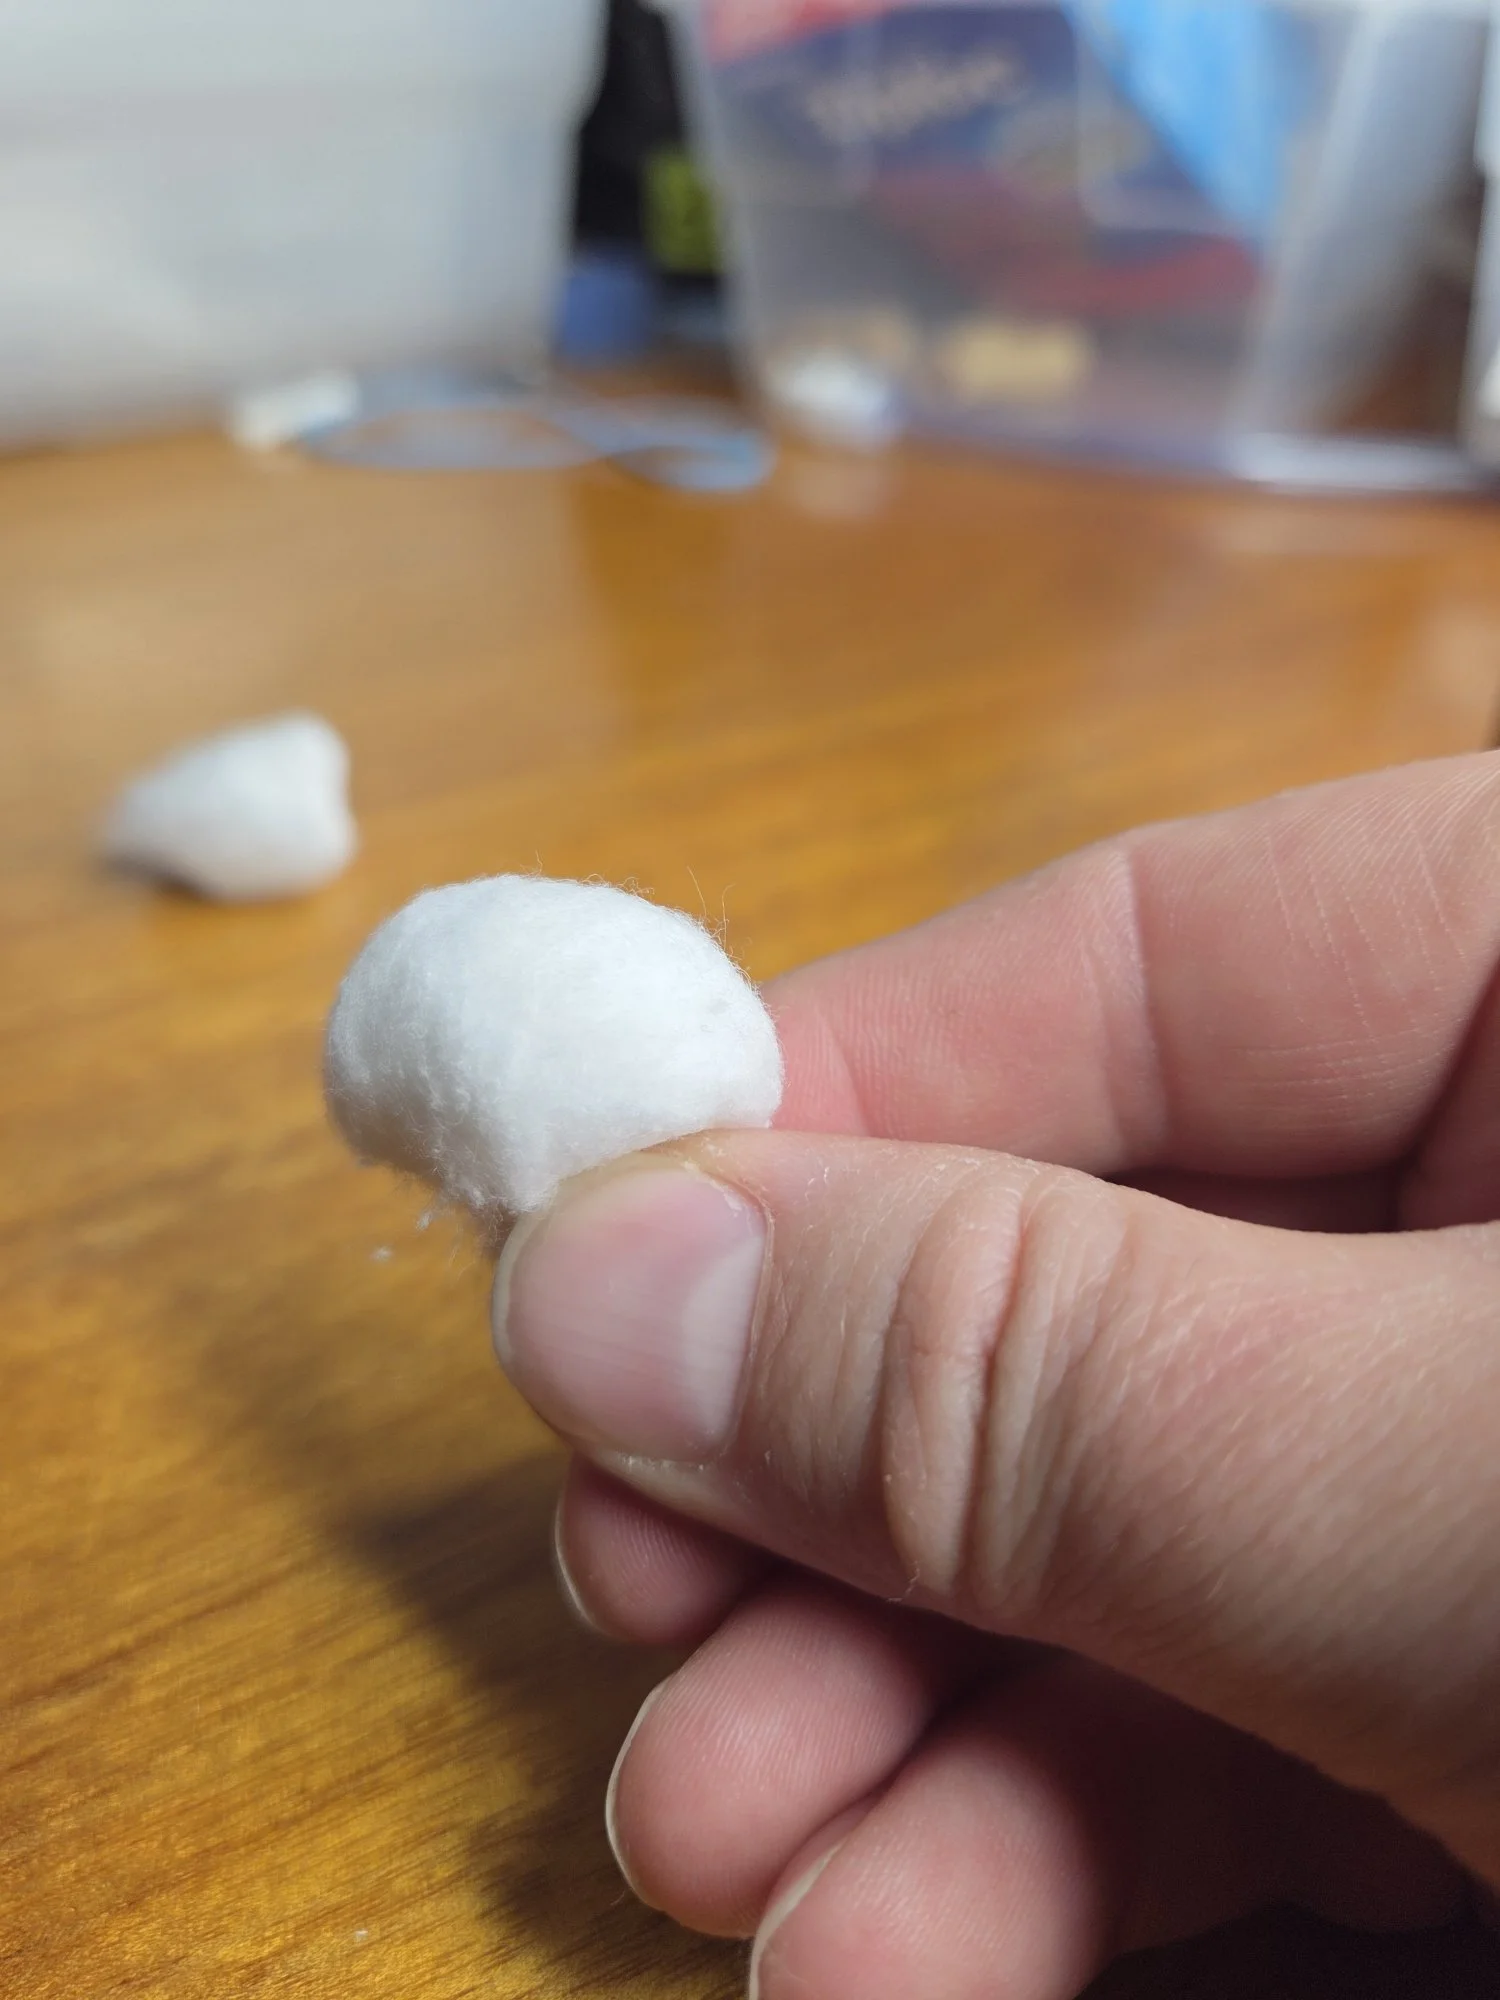
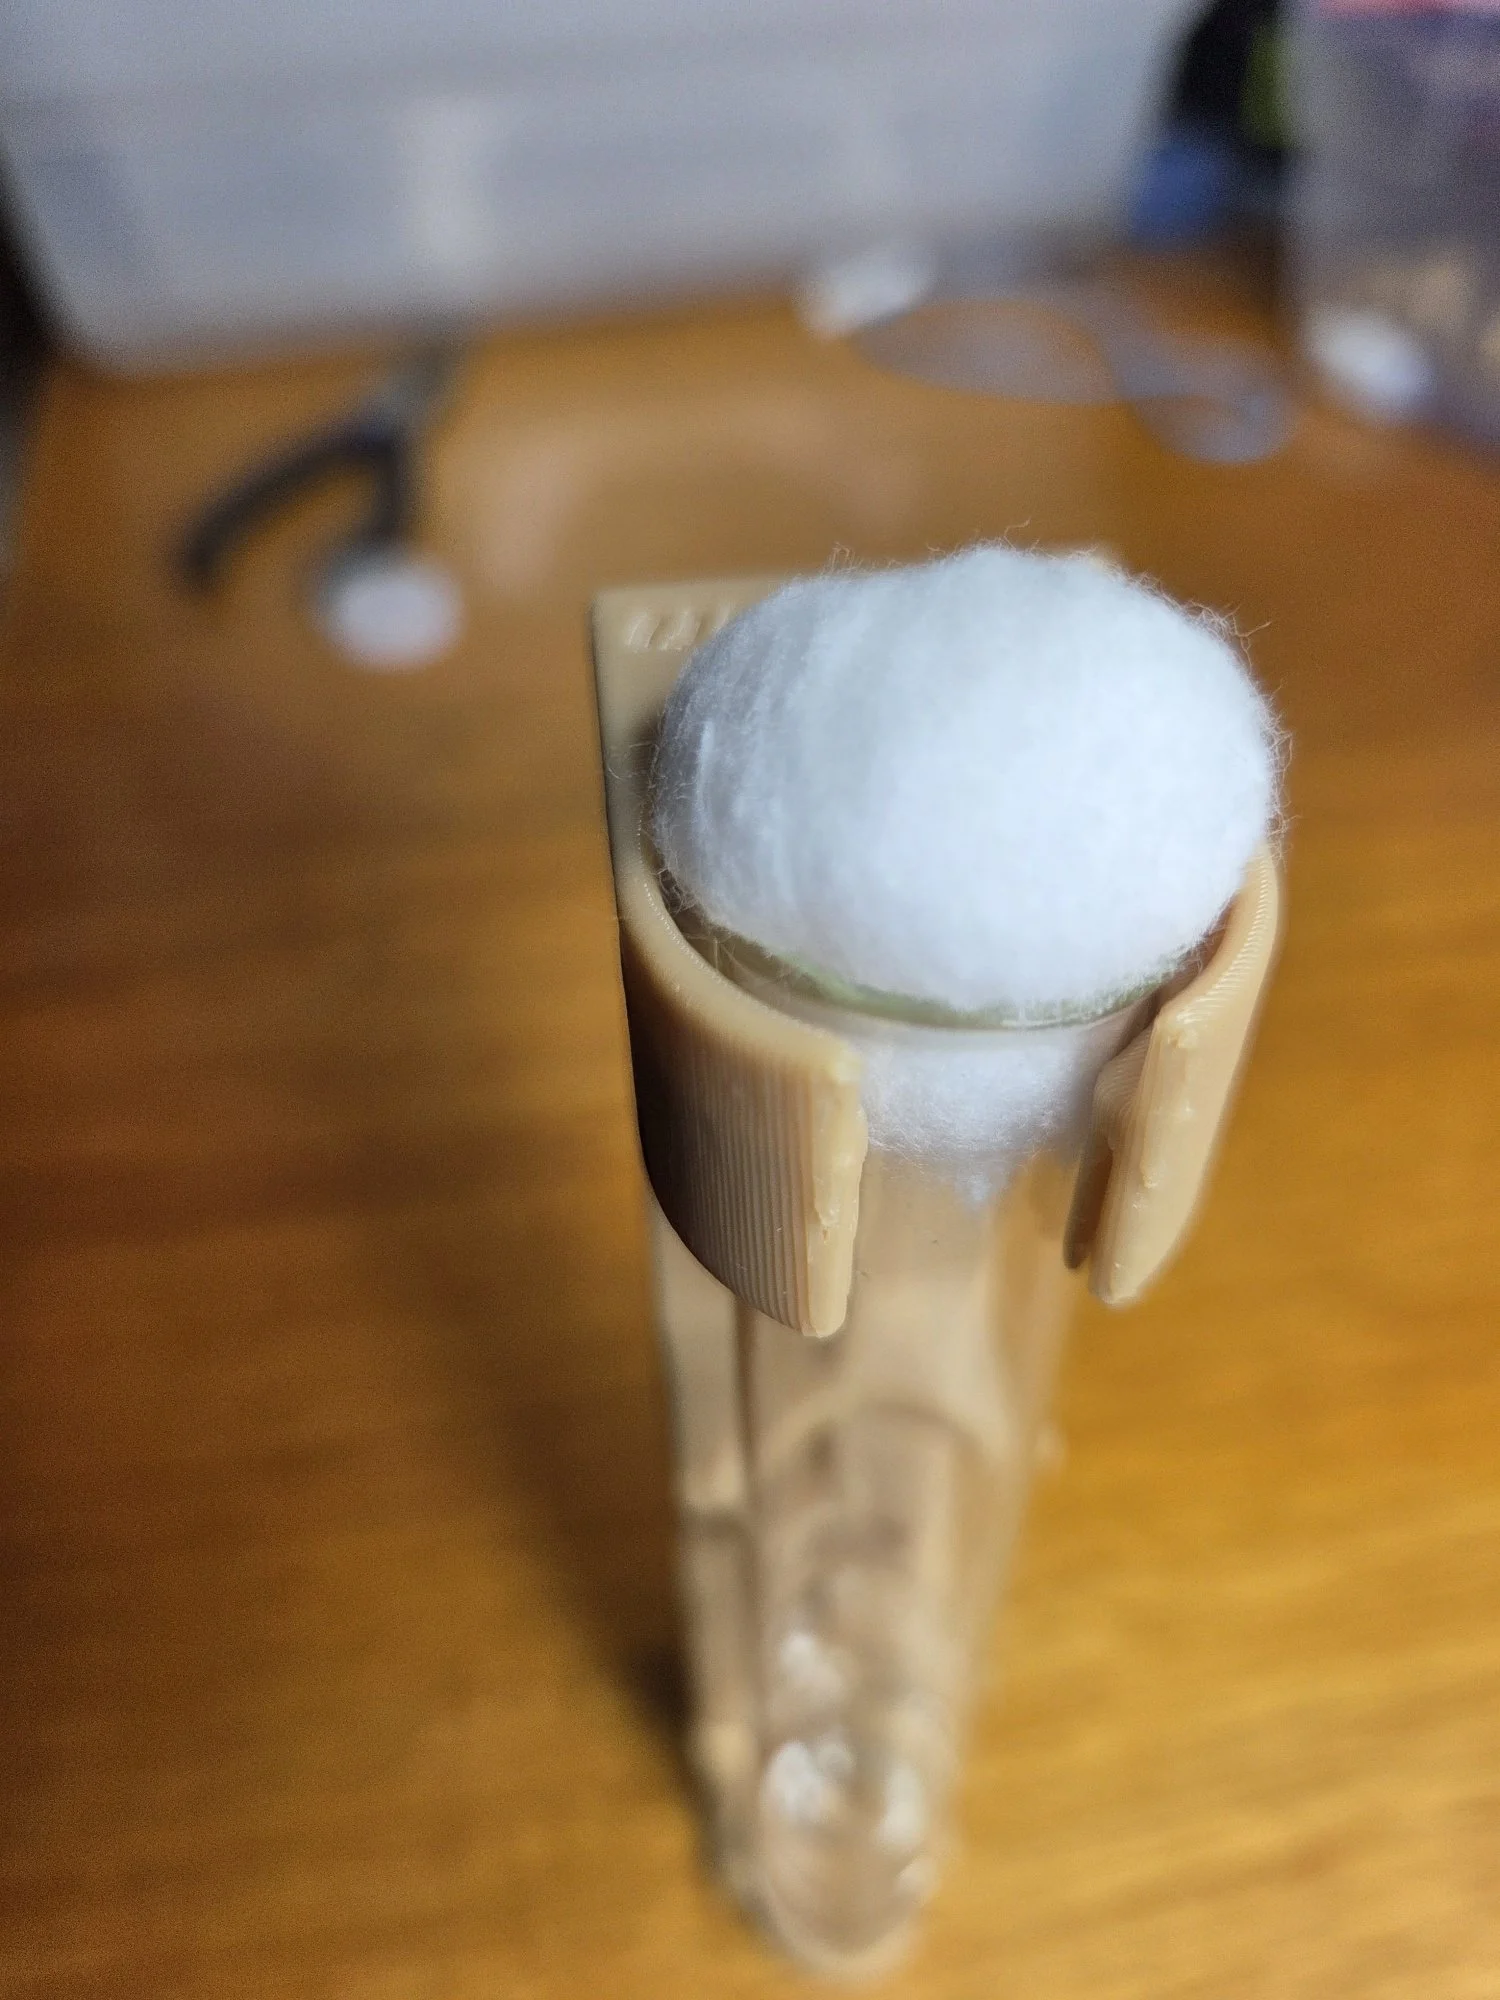
Tidy up cotton ball such that a clean side faces upward and place into the top of the test tube.
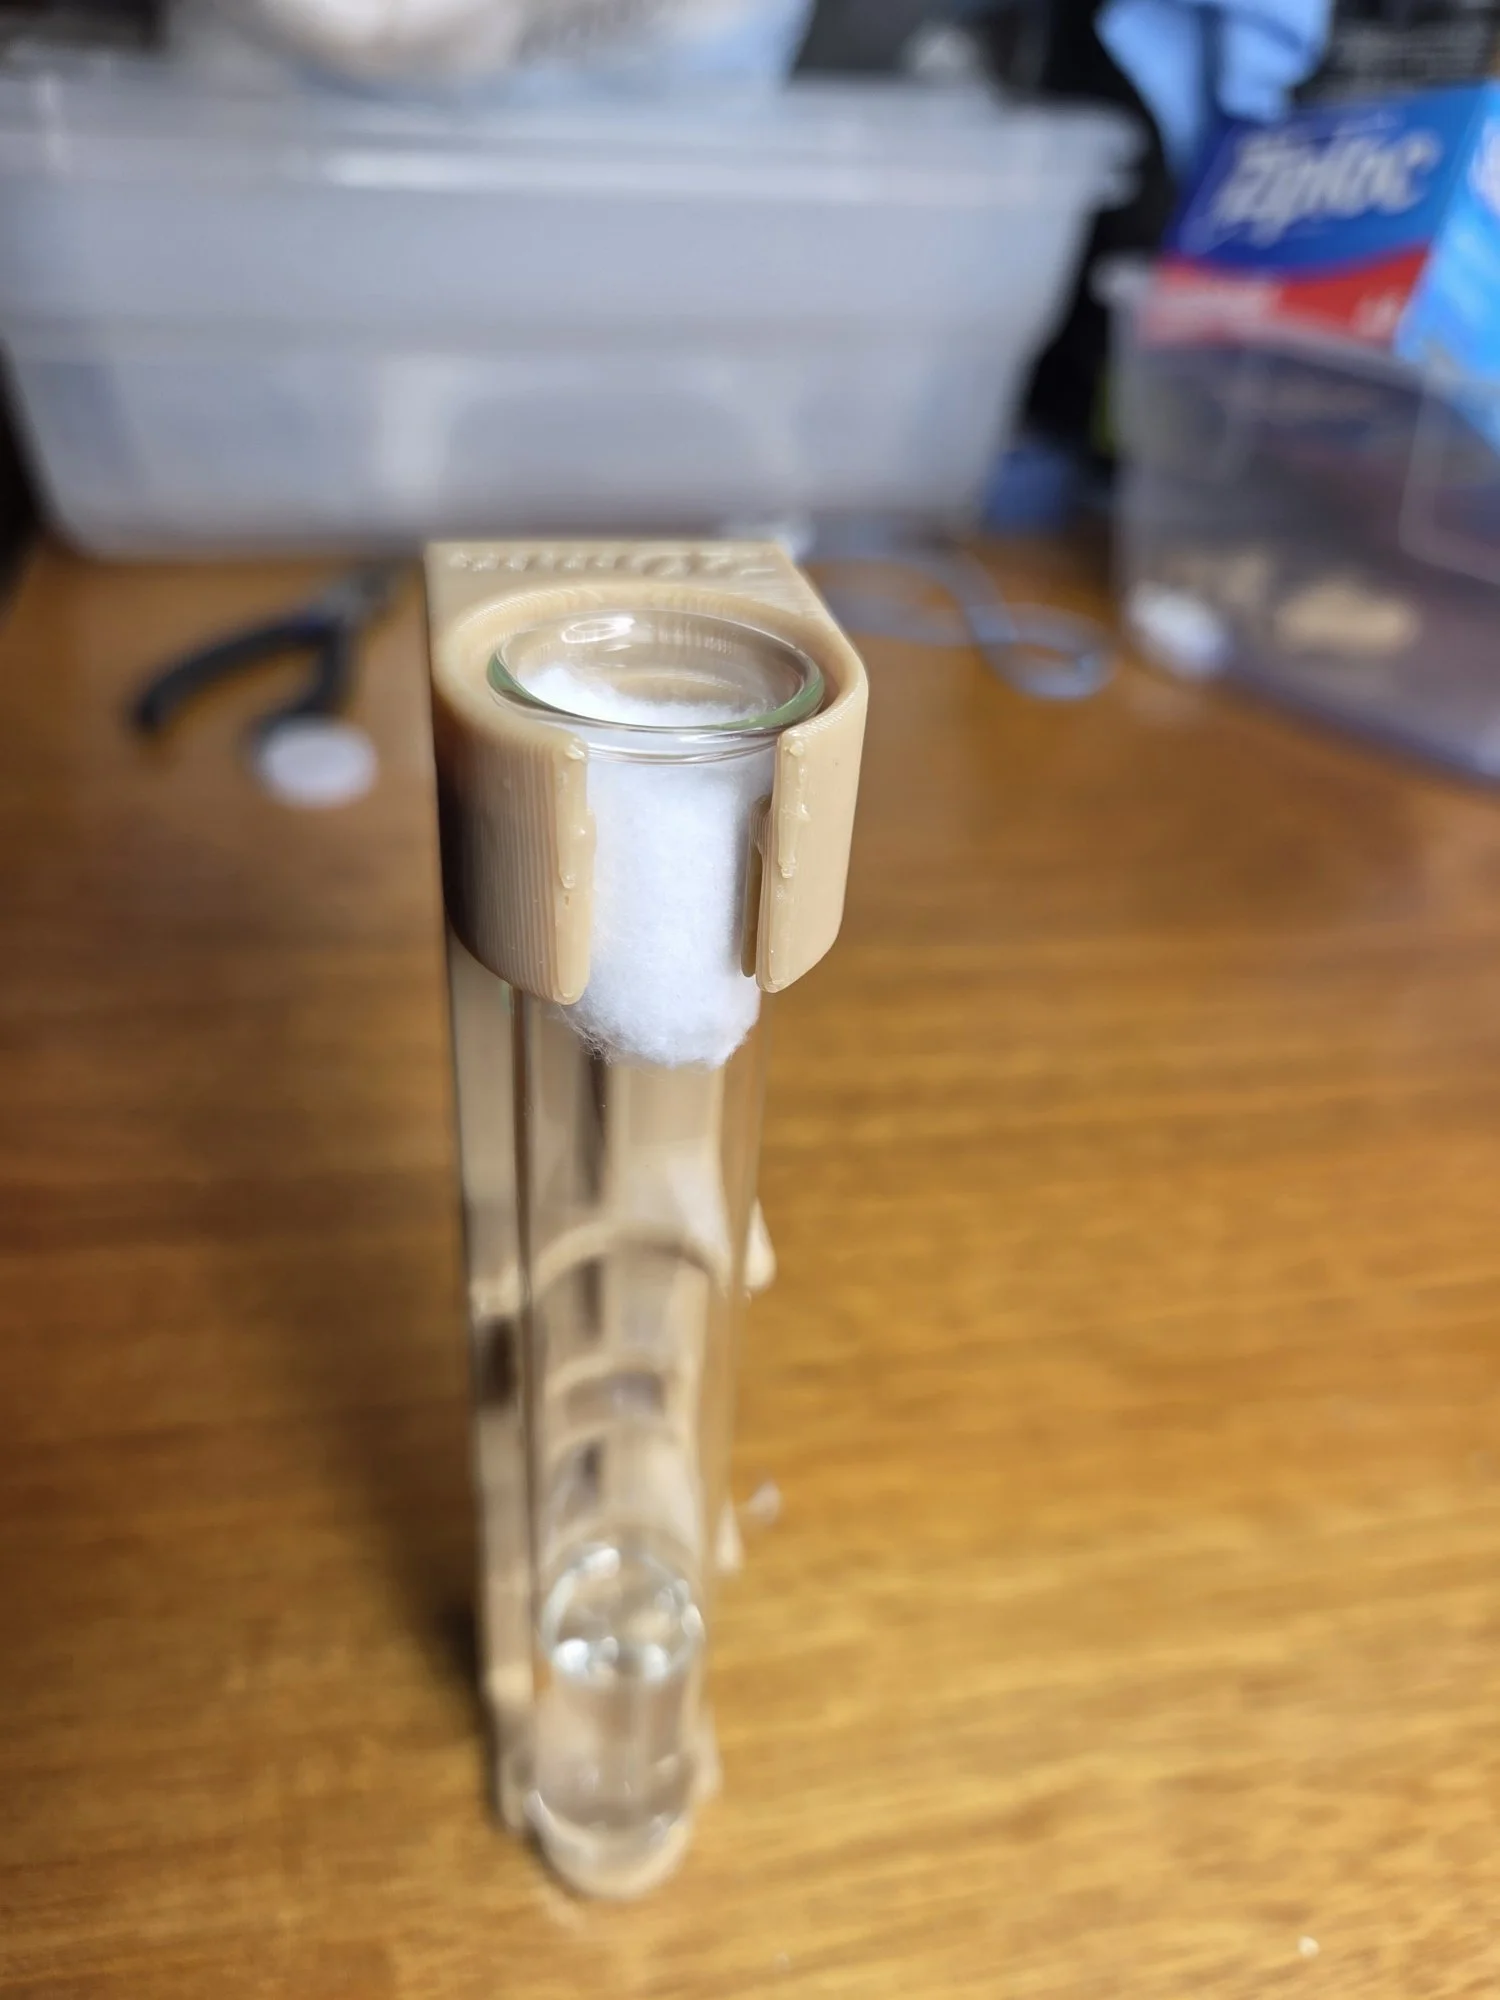
Press cotton ball down into the water such that the top becomes damp.
Dab Up Remaining Water Drops:
Dab up any remaining water drops in the new founding chamber to ensure a dry environment. A rolled up paper towel works great.
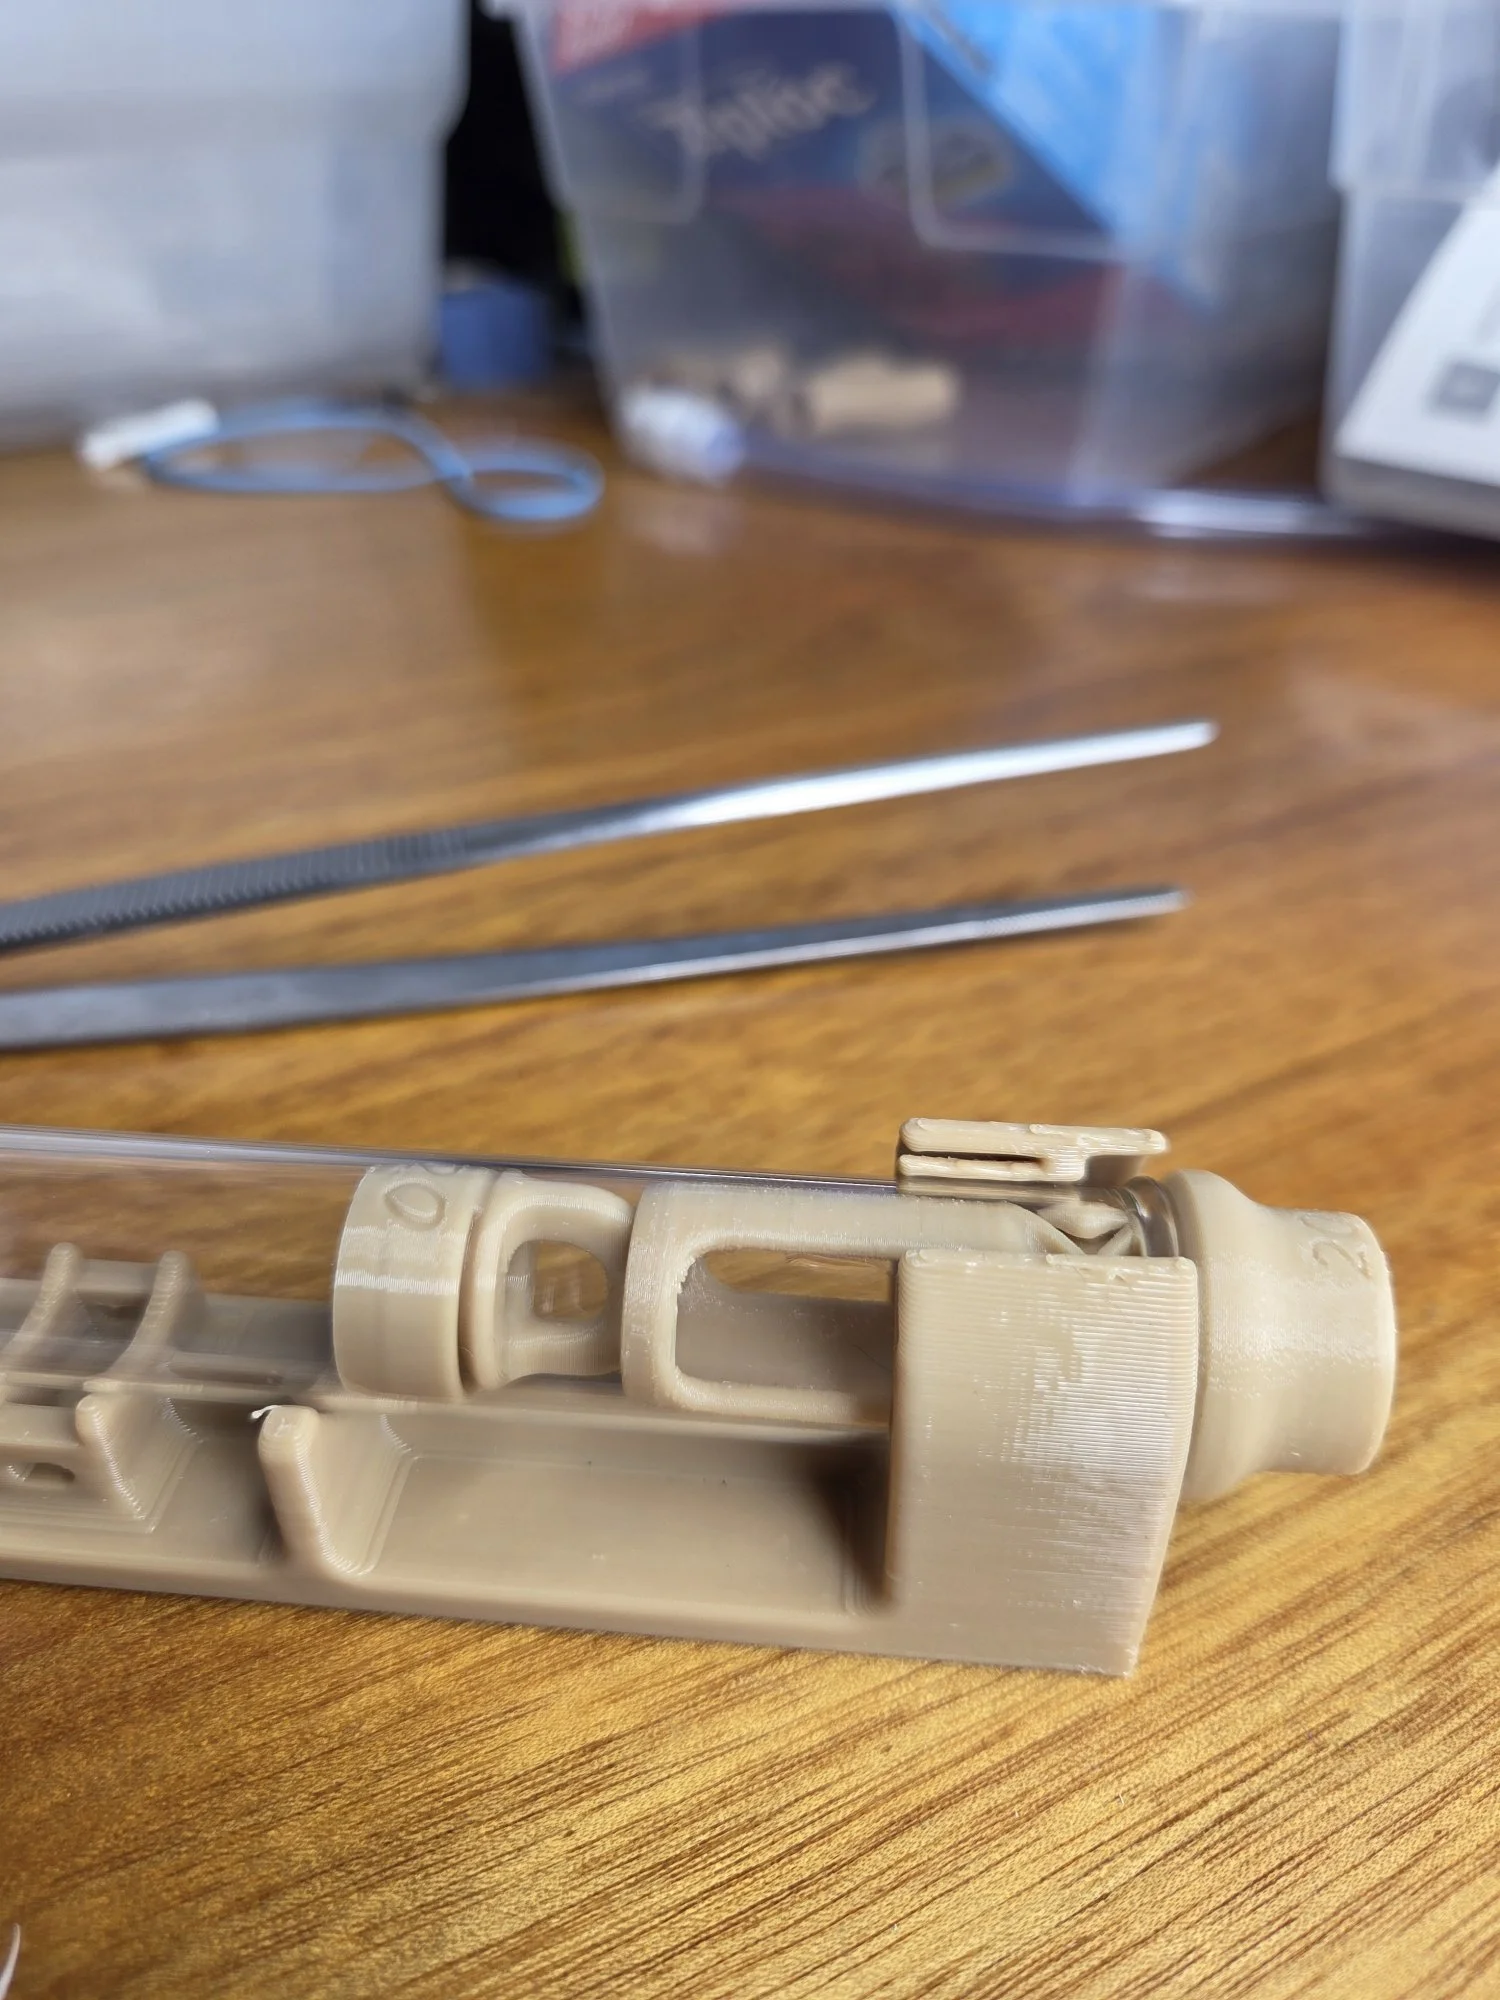
Install the Chamber Divider:
Install the chamber divider with the pull tab facing outward and use the feeding trough to push it into the final position.
Add the Queen Ant:
Add the captured queen ant to the chamber and carefully plug the end with the venting plug
Adjust the Chamber Divider as Needed:
You can change the placement of the chamber divider as needed for the specific requirements of the ants' habitat.
These steps will help create a suitable environment for the ants in the test tube chamber. If you have any further questions or need additional assistance, feel free to ask!